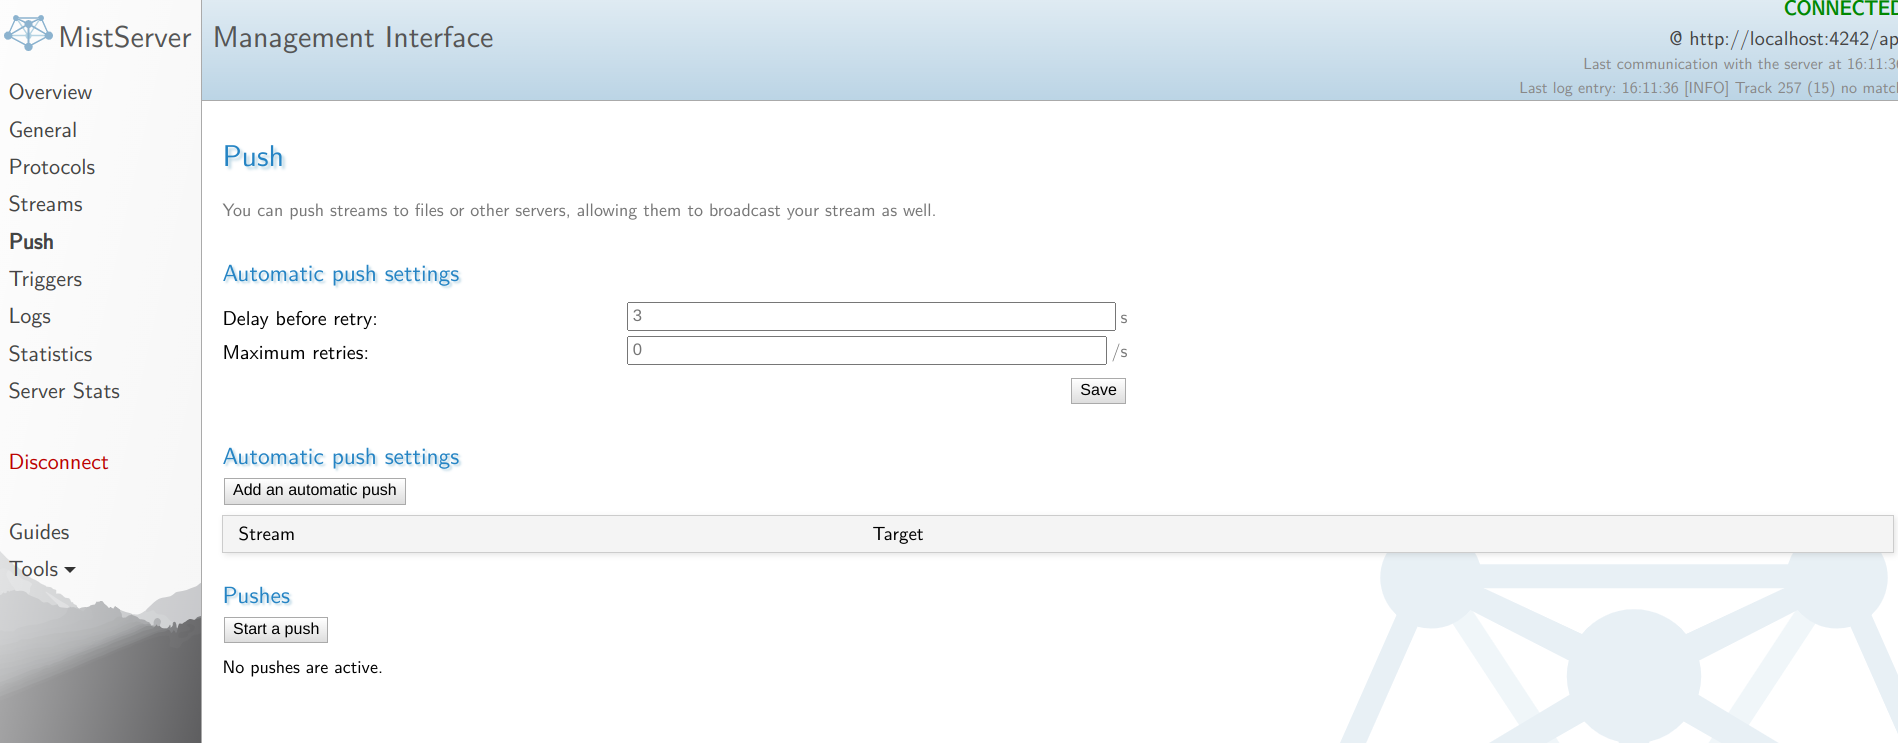
Manual push
Pushes are started from the push panel.
 .
.
Starting a recording/push
Creating a recording can be done through the option start a push. Once there you will only need to fill in two fields.
Stream name : The stream you wish to record
Target : The location you wish to push/record towards.

Once again any variables or parameters are valid for use. Should you have configured custom variables those would work as well.
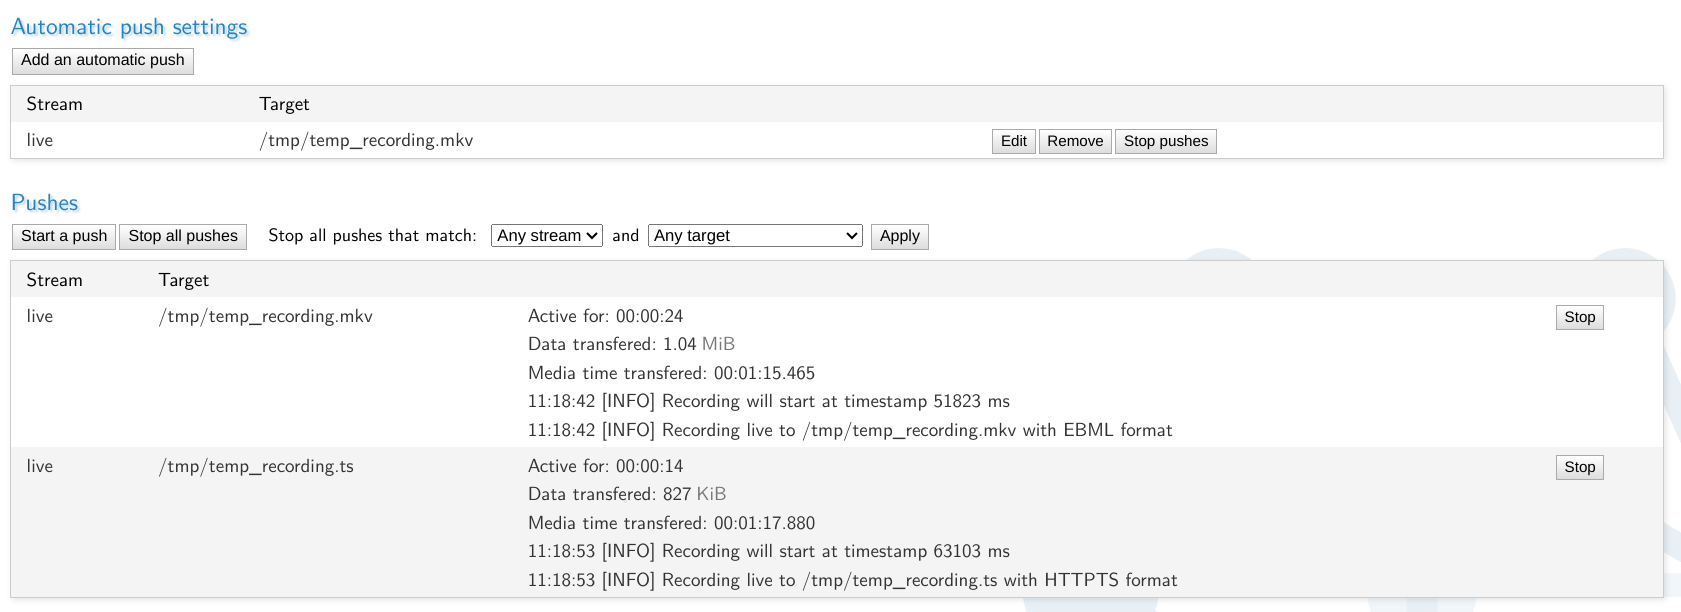
Stopping a recording/push
If you want to stop a recording you can do so through the stop push button or by stopping all pushes.
Active pushes are shown below the automatic push configurations:
Examples
Pushing towards an external SRT source
srt://example.com:8889?streamid=examplestream
This would SRT push towards the server example.com on UDP port 8889 using the parameter streamid=examplestream to select the stream to push against.
Pushing RTMP
rtmp://example.com/live/examplestream
This would push RTMP towards the server example.com on TCP port 1935 (default) towards application live and the stream examplestream.
Pushing RTMPS
rtmps://live-api-s.facebook.com:443/rtmp/FB-randomizedtoken?usertoken?
This would push RTMP towards the server live-api-s.facebook.com on TCP port 443 using application rtmp. The streamname contains a ? so an extra ? at the end has been added to make sure the full RTMP address is used.
Recording to file
/path/to/file/filename.mkv
This would record to the local given path a with the given file name as matroska.
Most outputs capable of file storage can record within MistServer. For a full up to date list please look here